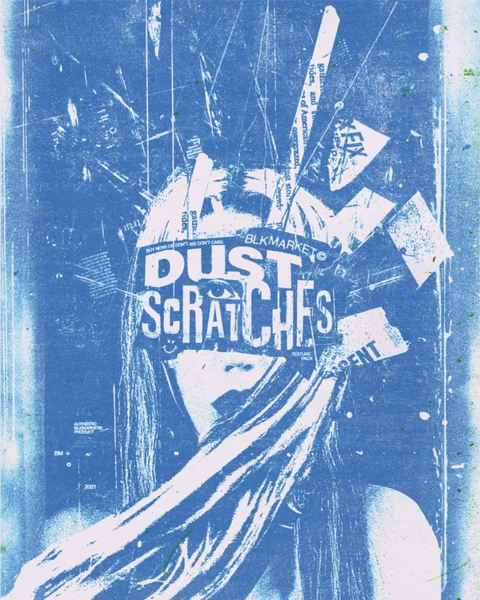
Welcome, my fellow designers, to this epic uncovering of the industry secrets texturing pros don't want you to know.
What we'll cover:
Step 1: Grab a texture. You can create your own textures using photography or digital techniques, or browse our extensive library here: /files/textures
Step 2: Prepare Your Canvas Open Photoshop, and create a new document by selecting "File" and then "New." Set the dimensions to match your intended design project, and ensure the resolution is at least 300 pixels per inch (ppi) for print, or 72 ppi for web-based projects.
Step 3: Import Your Texture Once you've selected a suitable texture image, import it into Photoshop. You can do this by either dragging and dropping the file into the document or selecting "File" and then "Place Embedded." Resize and position the texture as needed.
Sections:
- How to use blend modes for texturing
- How to texture only certain areas
- How to make your results more realistic
Getting started
Step 4: Blend Modes to the Rescue Blend modes are your secret weapon for achieving seamless texture integration. With the texture layer selected, navigate to the "Layers" panel and experiment with different blend modes. Overlay, Soft Light, and Multiply are popular choices, but don't hesitate to explore others. Each blend mode alters the appearance of the texture, allowing it to interact harmoniously with your design.
Step 5: Master Masking Sometimes you'll want to confine the texture to a specific area. To accomplish this, create a layer mask by clicking the "Add Layer Mask" button at the bottom of the "Layers" panel. Then, using the Brush tool (B), set the foreground color to black and paint over the areas where you want the texture to be hidden. This technique gives you precise control over where and how the texture is applied.
Step 6: Opacity and Fill Texture intensity can make or break your design, so understanding the difference between opacity and fill is crucial. Opacity affects both the layer and its blending mode, while fill only affects the layer itself. Adjust the opacity and fill sliders in the "Layers" panel to achieve the desired texture strength. Don't be afraid to experiment and find the perfect balance.
Finishing Up
Step 7: Layer Styles for Extra Flair Want to take your texturing game to the next level? Layer styles are here to help! Right-click on your texture layer and choose "Blending Options" to access a wealth of effects. Bevel & Emboss, Inner Shadow, and Color Overlay can add depth, dimension, and color variation to your textures. Experiment with different styles to unleash your creativity.
Step 8: Fine-Tuning with Adjustment Layers Sometimes a texture needs a little extra tweaking to fit seamlessly into your design. Adjustment layers come to the rescue! Click on the "Create new fill or adjustment layer" icon at the bottom of the "Layers" panel and choose from options like Hue/Saturation, Levels, or Curves. These adjustments allow you to modify the texture's color, contrast, and overall appearance without permanently altering the original image.
The true worth of a man is not to be found in man himself, but in the colours and textures that come alive in others.
-- Albert Schweitzer
Step 9: Group and Organize As your design becomes more complex, organizing your layers becomes crucial. Create layer groups by selecting the desired layers and pressing Ctrl/Cmd + G. This way, you can easily toggle the visibility and make adjustments to specific texture groups, making your workflow more efficient.
Step 10: Experiment and Iterate The true essence of
