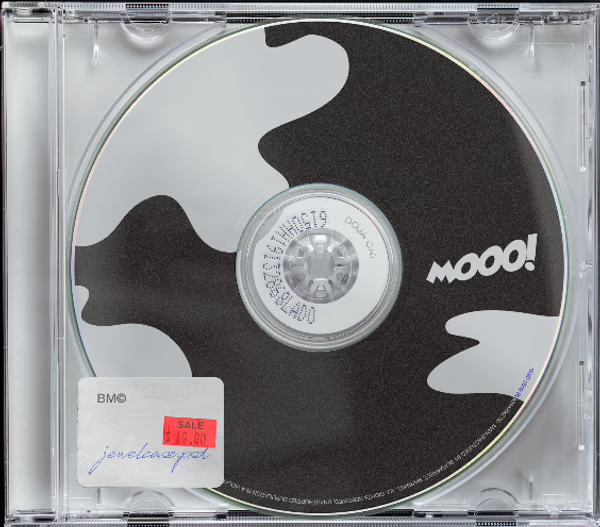
In this tutorial, you will learn how easy it is to customize Photoshop (.PSD) mockups – even with no prior design or Photoshop experience. Let's get started!
Step 1: Download and Install the Adobe Photoshop free trial.
To edit .PSD mockups, you'll need Adobe Photoshop or a similar alternative. If you don't have it installed on your computer, you can download a free trial version from this link or the Adobe website and follow the installation instructions.
Step 2: Open your .PSD Mockup File
Locate the .PSD mockup file you want to edit and double-click on it to open it in Adobe Photoshop.
Step 3: Customize the Design
- a) Layers Panel: On the right side of the Photoshop window, you'll see the Layers panel. It contains all the individual elements of the design. Click on a layer to select it.
- b) Editing Text: To modify text elements, select the Text tool from the left toolbar. Click on the text you want to change, and a text editing box will appear. Replace the existing text with your own.
- c) Changing Colors: To change colors, locate the layer that corresponds to the element you want to modify. Double-click on the layer thumbnail, and a color picker window will appear. Select your desired color and click "OK" to apply the change.
- d) Adding Images: If the mockup includes image placeholders, locate the corresponding layer in the Layers panel. Right-click on the layer and choose "Replace Contents" from the context menu. Select your image file and click "OK" to replace the placeholder with your own image.
Step 4: Save and Export
a) Saving Your Progress: To save your edited mockup, go to File > Save or use the keyboard shortcut Ctrl + S (Windows) or Command + S (Mac). Save the file with a new name to preserve the original mockup.
b) Exporting for Web: To export the image for Instagram, the web, or any other purpose, go to File > Export > Export As. Choose the desired file format (e.g., JPEG or PNG) and adjust the quality settings as needed. Click "Export" to save the image to your desired location.
Congratulations! That's all there is to it. Remember to experiment and explore different design options to find the best look to suite your needs. Happy designing!